It's a fine Sunday morning, and suddenly an idea for your next big project hits you: "How about I take the data provided by company X and build a frontend for it?" You jump into coding and realize that company X doesn't provide an API for their data. Their website is the only source for their data.
It's time to resort to good old web scraping, the automated process to parse and extract data from the HTML source code of a website.
jsoup, a Java library that implements the WHATWG HTML5 specification, can be used to parse HTML documents, find and extract data from HTML documents, and manipulate HTML elements. It's an excellent library for simple web scraping because of its simplistic nature and its ability to parse HTML the same way a browser does so that you can use the commonly known CSS selectors.
In this article, you'll learn how to use jsoup for web scraping in Java.

💡 Interested in web scraping with Java? Check out our guide to the best Java web scraping libraries
Installing jsoup
This article uses Maven as the build system, so make sure it's installed. Note that you can use jsoup without Maven as well. You can find the instructions for that on the jsoup download page.
The application that you'll be building in this article can be found in GitHub if you wish to clone it and follow along, or you can follow the instructions to build the application from scratch.
Start by generating a Maven project:
mvn archetype:generate -DgroupId=com.example.jsoupexample -DartifactId=jsoup-example -DarchetypeArtifactId=maven-archetype-quickstart -DarchetypeVersion=1.4 -DinteractiveMode=false
The directory named jsoup-example will hold the project files. For the rest of the article, you will work in this directory.
Edit the pom.xml file and add jsoup as a dependency in the dependencies section:
<dependencies>
    ...
    <dependency>
        <groupId>org.jsoup</groupId>
        <artifactId>jsoup</artifactId>
        <version>1.14.3</version>
    </dependency>
</dependencies>
This article uses version 1.14.3, which is the latest version at the time of writing. Check which version is the latest when you read this by heading over to the jsoup download page.
In the plugins section, add the Exec Maven Plugin:
<plugin>
    <groupId>org.codehaus.mojo</groupId>
    <artifactId>exec-maven-plugin</artifactId>
    <version>3.0.0</version>
    <configuration>
    <mainClass>com.example.jsoupexample.App</mainClass>
    </configuration>
</plugin>
Using jsoup
Web scraping should always start with a human touch. Before jumping straight into coding, you should first familiarize yourself with the target website. Spend some time studying the website's structure, figuring out what data you want to scrape, and looking into the HTML source code to understand where the data is located and how it is structured.
In this article, you will scrape ScrapingBee's blog and collect information about the blogs published: titles, links, etc. It's pretty basic, but it will help you start your web scraping journey.
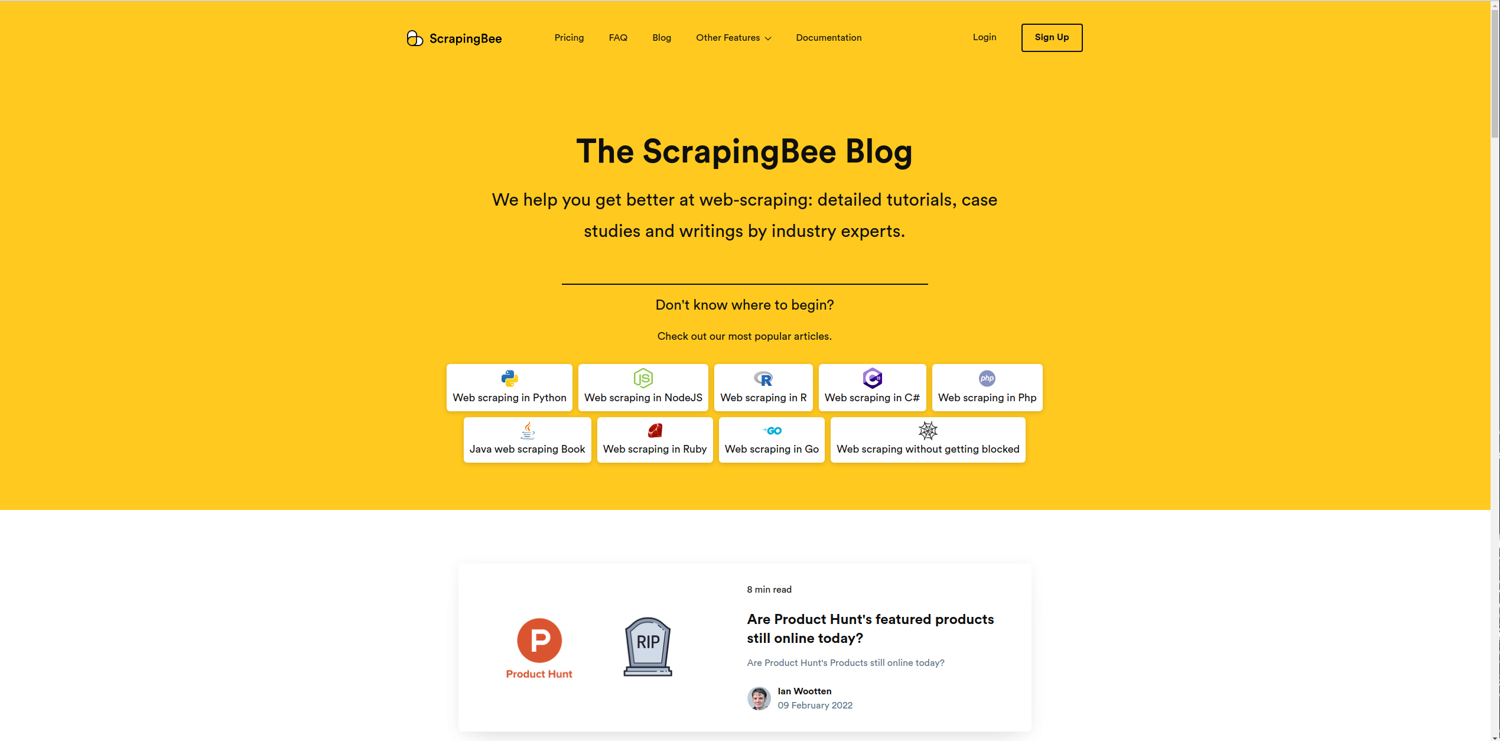
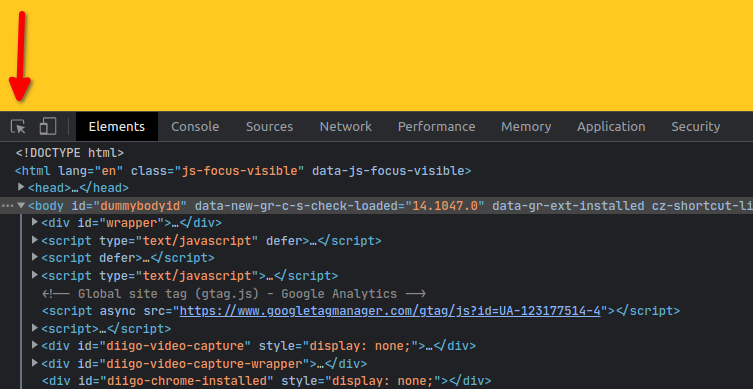
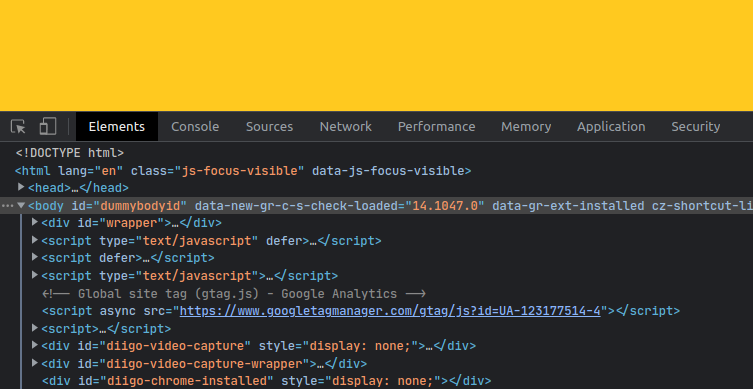
Let's start exploring the website. Open https://www.scrapingbee.com/blog in your browser and click Ctrl+Shift+I to open the developer tools. Click on the little cursor icon on the top-left corner of the console. If you hover over an element on the web page when this is enabled, it will locate that element in the HTML code. It saves you from manually navigating through the HTML file to determine which code corresponds to what elements. This tool will be your friend throughout the scraping journey.
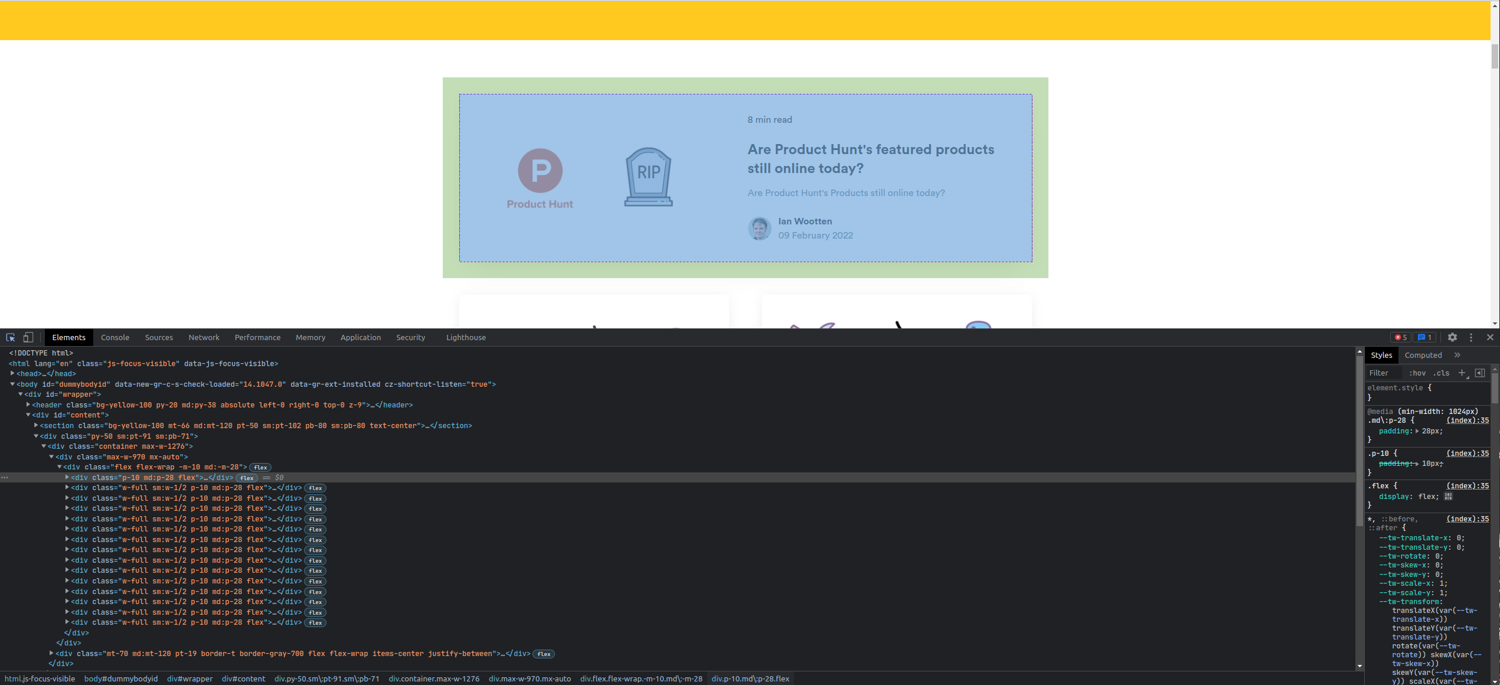
Hover over the first blog post. You'll see that it's highlighted in the console, and it's a div with class p-10 md:p-28 flex. The other blogs next to it are each a div with class w-full sm:w-1/2 p-10 md:p-28 flex.
Now that you have an overview of the broad structure of the target data in the web page, it's time for some coding. Open the file src/main/java/com/example/jsoupexample/App.java, delete the auto-generated code, and paste the following boilerplate code:
package com.example.jsoupexample;

public class App
{
    public static void main( String[] args )
    {

    }
}
Parsing HTML
jsoup works by parsing the HTML of a web page and converting it into a Document object. Think of this object as a programmatic representation of the DOM. To create this Document, jsoup provides a parse method with multiple overloads that can accept different input types.
Some notable ones are as follows:
parse(File file, @Nullable String charsetName): parses an HTML file (also supports gzipped files)parse(InputStream in, @Nullable String charsetName, String baseUri): reads anInputStreamand parses itparse(String html): parses an HTML string
All these methods return the parsed Document object.
Let's see the last one in action. First, import the required classes:
import org.jsoup.Jsoup;
import org.jsoup.nodes.Document;
In the main method, write the following code:
Document document = Jsoup.parse("<html><head><title>Web Scraping</title></head></html>");
System.out.println(document.title());
As you can see, an HTML string was directly passed to the parse method. The title method of the Document object returns the title of the web page. Run the application using the command mvn exec:java, and it should print Web Scraping.
Putting a hardcoded HTML string in the parse method works, but it's not really useful. How do you get the HTML from a web page and parse it?
One way is to use the HttpURLConnection class to make a request to the website and pass the InputStream of the response to the parse method. Here's some sample code to do that:
package com.example.jsoupexample;

import java.io.IOException;
import java.io.InputStream;
import java.net.HttpURLConnection;
import java.net.MalformedURLException;
import java.net.URL;

import org.jsoup.Jsoup;
import org.jsoup.nodes.Document;

public class App {
    public static void main(String[] args) {
        URL url;
        try {
            url = new URL("https://www.scrapingbee.com/blog");
            HttpURLConnection connection;
            try {
                connection = (HttpURLConnection) url.openConnection();
                connection.setRequestProperty("accept", "application/json");

                try {
                    InputStream responseStream = connection.getInputStream();
                    Document document = Jsoup.parse(responseStream, "UTF-8", "https://www.scrapingbee.com/blog");
                    System.out.println(document.title());
                } catch (IOException e) {
                    e.printStackTrace();
                }
            } catch (IOException e1) {
                e1.printStackTrace();
            }

        } catch (MalformedURLException e1) {
            e1.printStackTrace();
        }

    }
}
Note the amount of boilerplate code required just to get the HTML from the web page. Thankfully, jsoup provides a more convenient connect method that can connect to a web page, fetch the HTML, and parse it to a Document all in one go.
Simply pass the URL to the connect method, and it will return a Connection object:
Jsoup.connect("https://example.com")
You can use this object to modify the request properties, such as adding parameters using the data method, adding headers using the header method, setting cookies using the cookie method, and so on. Each method returns a Connection object, so they can be chained:
Jsoup.connect("https://example.com")
    .data("key", "value")
    .header("header", "value")
    .timeout(3000)
When you're ready to make the request, call the get or post method of the Connection object. This will return the parsed Document object. Write the following code:
import java.io.IOException;

import org.jsoup.Jsoup;
import org.jsoup.nodes.Document;

public class App {
    public static void main(String[] args) {
        try {
            Document document = Jsoup.connect("https://www.scrapingbee.com/blog")
                                    .timeout(5000)
                                    .get();
            System.out.println(document.title());
        } catch (IOException e) {
            e.printStackTrace();
        }
    }
}
The code has been wrapped in a try-catch block since the get method can throw an IOException. When you run this code, you should see the title of the web page printed.
getElementById and getElementsByClass
Let's now parse the blogs. The Document object provides many methods to select the node you want. If you know JavaScript, you'll find these methods very similar to what you're used to.
The first important method is getElementById. It is similar to getElementById in JavaScript. It takes an ID and returns the unique Element with that ID. Our target web page has a div with an ID of content. Let's poke it using getElementById:
...
import org.jsoup.nodes.Element; // add this import
...
Document document = Jsoup.connect("https://www.scrapingbee.com/blog")
                                    .timeout(5000)
                                    .get();

Element content = document.getElementById("content");
System.out.println(content.childrenSize());
Note the use of the childrenSize method, which returns the number of children of the Element. Running this code prints 2, and indeed there are two children of this div.

In this particular example, getElementById is not very useful since there aren't many elements with ID, so let's focus on the next important method: getElementsByClass. Again, it is similar to the getElementsByClassName method in JavaScript. Note that this method returns an Elements object, and not an Element. This is because there can be multiple elements with the same class.
If you remember, all the blogs had a class of p-10, so you can use this method to get hold of them:
...
import org.jsoup.select.Elements; // Add this import
...

Elements blogs = document.getElementsByClass("p-10");
You can now iterate over this list with a for loop:
for (Element blog : blogs) {
    System.out.println(blog.text());
}
The text method returns the element's text, similar to innerText in JavaScript. When you run this code, you'll see the text of the blogs printed.

select
Let's now parse the title of each blog. You’ll use the select method for this. Similar to querySelectorAll in JavaScript, it takes a CSS selector and returns a list of elements that match that selector. In this case, the title is an h4 element inside the blog.

So, the following code will select the title and get the text from it:
for (Element blog : blogs) {
    String title = blog.select("h4").text();
    System.out.println(title);
}
The next step is to get the link to the blog. For that, you’ll use blog.select("a") to select all the a tags inside the blog element. To get the link, use the attr method, which returns the specified attribute of the first matching element. Since each blog only contains one a tag, you'll get the link from the href attribute:
String link = blog.select("a").attr("href");
System.out.println(link);
Running it prints the links of the blogs:
Are Product Hunt's featured products still online today?
/blog/producthunt-cemetery/
C# HTML parsers
/blog/csharp-html-parser/
Using Python and wget to Download Web Pages and Files
/blog/python-wget/
Using the Cheerio NPM Package for Web Scraping
/blog/cheerio-npm/
...
first and selectFirst
Let's see if we can get the header image for the blog. This time blog.select("img") will not work since there are two images: the header and the author's avatar. Instead, you can use the first method to get the first matched element, or alternatively, use selectFirst:
String headerImage = blog.select("img").first().attr("src");
// Or
String headerImage = blog.selectFirst("img").attr("src");

System.out.println(headerImage);
Advanced CSS Selector with select
Let's now try the author's avatar. If you look at the URL for one of the avatars, you'll notice that it contains the word "authors." We can therefore use an Attribute selector to select all images whose src attribute contains "authors." The corresponding selector is img[src*=authors]:
String authorImage = blog.select("img[src*=authors]").attr("src");
System.out.println(authorImage);
Pagination
Finally, let's see how pagination can be handled. Clicking on the page 2 button takes you to https://www.scrapingbee.com/blog/page/2/. From this, you can deduce that you can append the page number to https://www.scrapingbee.com/blog/page/ to get that page. Since each page is a separate web page, you can wrap everything in a for loop and change the URL to iterate over each page:
for(int i = 1; i <= 4; ++i) {
    try {
        String url = (i==1) ? "https://www.scrapingbee.com/blog" : "https://www.scrapingbee.com/blog/page/" + i;

        Document document = Jsoup.connect(url)
                                .timeout(5000)
                                .get();

        ...
        }
    } catch (IOException e) {
        e.printStackTrace();
    }
}
The case i = 1 is exceptional since the first page is hosted at https://www.scrapingbee.com/blog instead of https://www.scrapingbee.com/blog/page/1.
Final Code
Here's the final code with some added spaces and texts to make it easier to read:
package com.example.jsoupexample;

import java.io.IOException;

import org.jsoup.Jsoup;
import org.jsoup.nodes.Document;
import org.jsoup.nodes.Element;
import org.jsoup.select.Elements;

public class App {
    public static void main(String[] args) {
        for(int i = 1; i <= 4; ++i) {
            System.out.println("PAGE " + i);
            try {
                String url = (i==1) ? "https://www.scrapingbee.com/blog" : "https://www.scrapingbee.com/blog/page/" + i;

                Document document = Jsoup.connect(url)
                                        .timeout(5000)
                                        .get();

                Elements blogs = document.getElementsByClass("p-10");
                for (Element blog : blogs) {
                    String title = blog.select("h4").text();
                    System.out.println("TITLE: " + title);

                    String link = blog.select("a").attr("href");
                    System.out.println("LINK: " + link);

                    String headerImage = blog.selectFirst("img").attr("src");
                    System.out.println("HEADER IMAGE: " + headerImage);
                    String authorImage = blog.select("img[src*=authors]").attr("src");
                    System.out.println("AUTHOR IMAGE:" + authorImage);

                    System.out.println();
                }
            } catch (IOException e) {
                e.printStackTrace();
            }
        }

    }
}
Here's the sample output:
PAGE 1
TITLE: Are Product Hunt's featured products still online today?
LINK: /blog/producthunt-cemetery/
HEADER IMAGE: https://d33wubrfki0l68.cloudfront.net/9ac2840bae6fc4d4ef3ddfa68da1c7dd3af3c331/8f56d/blog/producthunt-cemetery/cover.png
AUTHOR IMAGE:https://d33wubrfki0l68.cloudfront.net/7e902696518771fbb06ab09243e5b4ceb2cba796/23431/images/authors/ian.jpg

TITLE: C# HTML parsers
LINK: /blog/csharp-html-parser/
HEADER IMAGE: https://d33wubrfki0l68.cloudfront.net/205f9e447558a0f654bcbb27dd6ebdd164293bf8/0adcc/blog/csharp-html-parser/cover.png
AUTHOR IMAGE:https://d33wubrfki0l68.cloudfront.net/897083664781fa7d43534d11166e8a9a5b7f002a/115e0/images/authors/agustinus.jpg

TITLE: Using Python and wget to Download Web Pages and Files
LINK: /blog/python-wget/
HEADER IMAGE: https://d33wubrfki0l68.cloudfront.net/7b60237df4c51f8c2a3a46a8c53115081e6c5047/03e92/blog/python-wget/cover.png
AUTHOR IMAGE:https://d33wubrfki0l68.cloudfront.net/8d26b33f8cc54b03f7829648f19496c053fc9ca0/8a664/images/authors/roel.jpg

TITLE: Using the Cheerio NPM Package for Web Scraping
LINK: /blog/cheerio-npm/
HEADER IMAGE: https://d33wubrfki0l68.cloudfront.net/212de31150b614ca36cfcdeada7c346cacb27551/9bfd1/blog/cheerio-npm/cover.png
AUTHOR IMAGE:https://d33wubrfki0l68.cloudfront.net/bd86ac02a54c3b0cdc2082fec9a8cafc124d01d7/9d072/images/authors/ben.jpg

...
If you didn't do so initially, you can clone this application from GitHub so that you can check your code against it.
Conclusion
jsoup is an excellent choice for web scraping in Java. While this article introduced the library, you can find out more about it in the jsoup documentation.
Even though jsoup is easy to use and efficient, it has its drawbacks. For example, it's not able to run JavaScript code, which means jsoup can't be used for scraping dynamic web pages and single-page applications. In those cases, you'll need to use something like Selenium.
We've also covered the use of JSoup with Scala, don't hesitate to check out our article about web scraping with Scala.

Aniket is a student doing a Master's in Mathematics and has a passion for computers and software. He likes to explore various areas related to coding and works as a web developer using Ruby on Rails and Vue.JS.
