In this article, we will take a look at how to automate form submission using Puppeteer. Puppeteer is an open source Node library that provides a high-level API to control Chrome or Chromium based browsers over the DevTools Protocol. Every tasks that you can perform with a Chrome browser can be automated with Puppeteer. This makes Puppeteer an ideal tool for web scraping and test automation. In this article, we will go over everything you need to know about automating form submission with Puppeteer. We will discuss
- Automated form submission
- Using Puppeteer selectors to target form inputs
- Submitting a form with attachments
Excited! Let’s dive in 🏄♂️

Getting started with Puppeteer
In this section, we will get our project setup. As mentioned above Puppeteer is a node library. So we can simply add it to our node project with npm install or yarn add command. Let’s start by creating a new folder.
    # create a new folder and navigate inside it
    mkdir form_demo
    cd form_demo
Inside our new project folder we can initialize a new Node project by running the following command.
Note: I am going to be using
npmfor this demo. Feel free to useyarnif that’s your preference
npm init --yes
Once the project is created we will install Puppeteer.
npm i puppeteer --save
Once the package is installed we can create a new file called index.js. This is going to be our main script. To make sure everything is working as expected let’s create a simple automation script with Puppeteer and run it.
    const puppeteer = require('puppeteer');
    async function main() {
        const browser = await puppeteer.launch({
            headless: false
        });
        const page = await browser.newPage();
        await page.goto('https://www.scrapingbee.com/');
        await page.waitForTimeout(5000); // wait for 5 seconds
        await browser.close();
    }
    main();
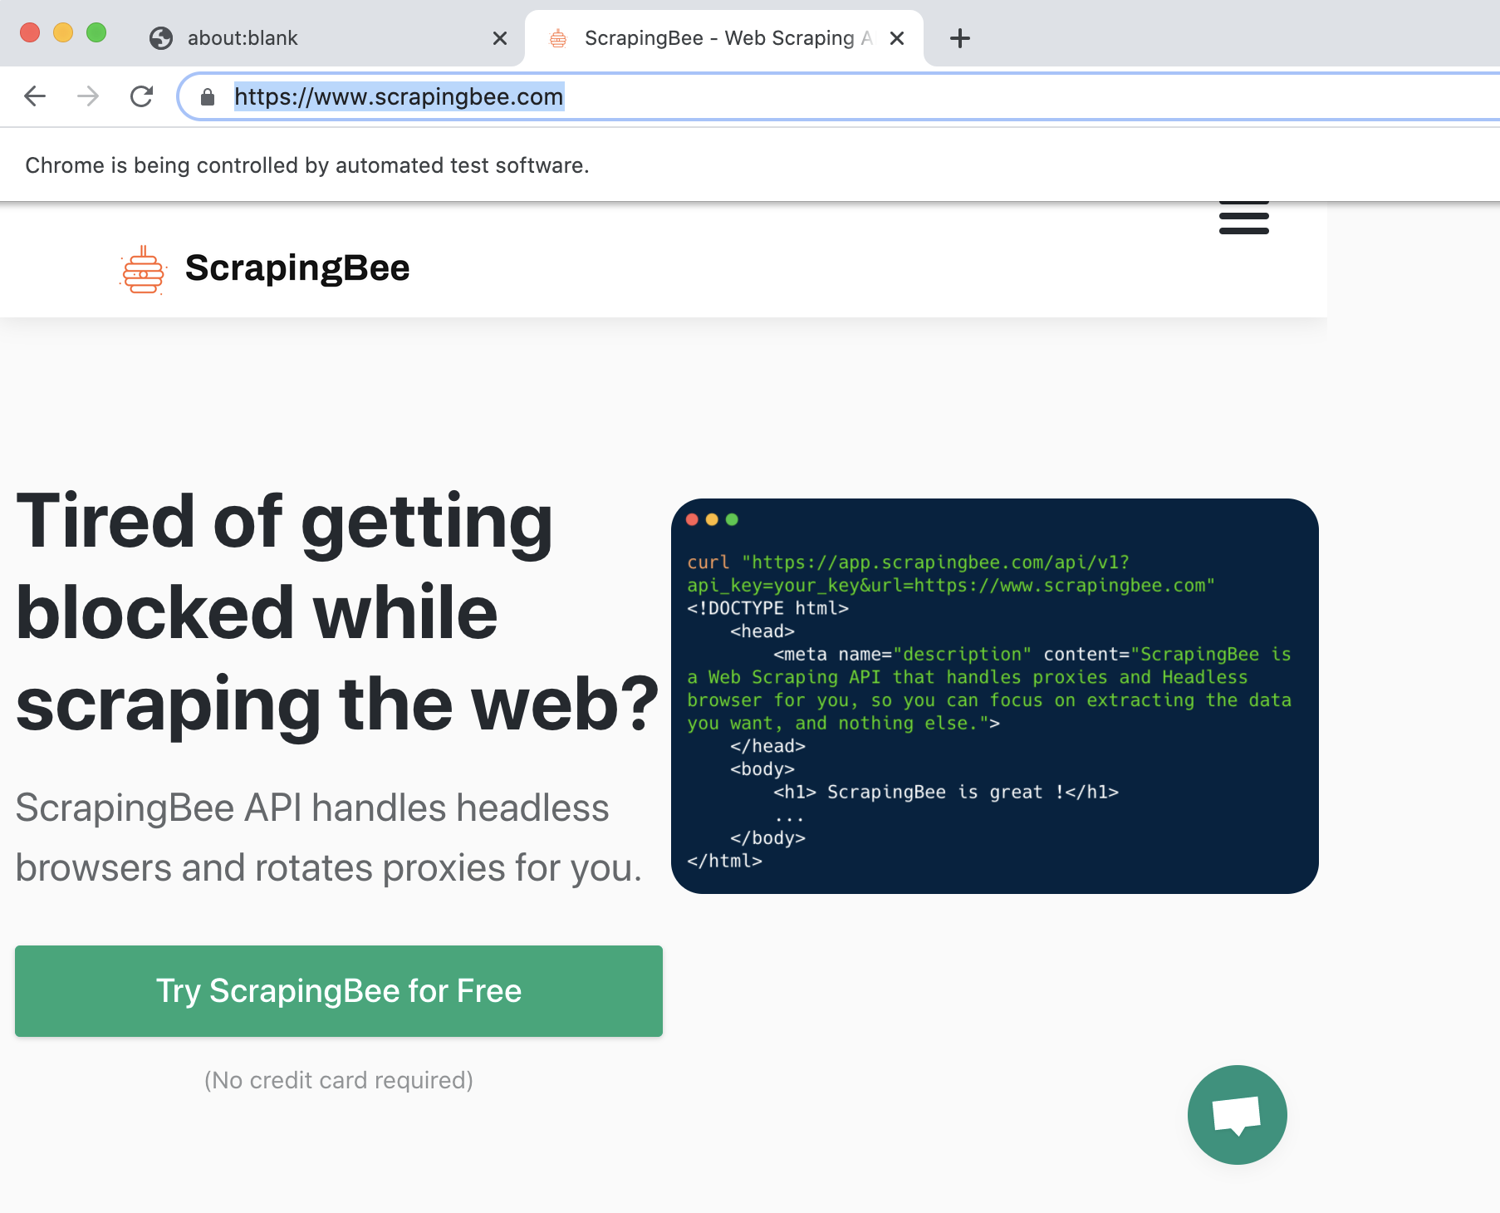
In the script above we are creating a new instance of headless browser. We are giving instructions to visit our scrapingbee.com home page, wait for 5 seconds and simply close the browser. Observe that on line 4 we have set the headless option to be false. We did this so we can visually observe the browser opening up the webpage and closing.
Run the script with node index.js command. We will see the page open up and automatically close after 5 seconds.

Automating form submission
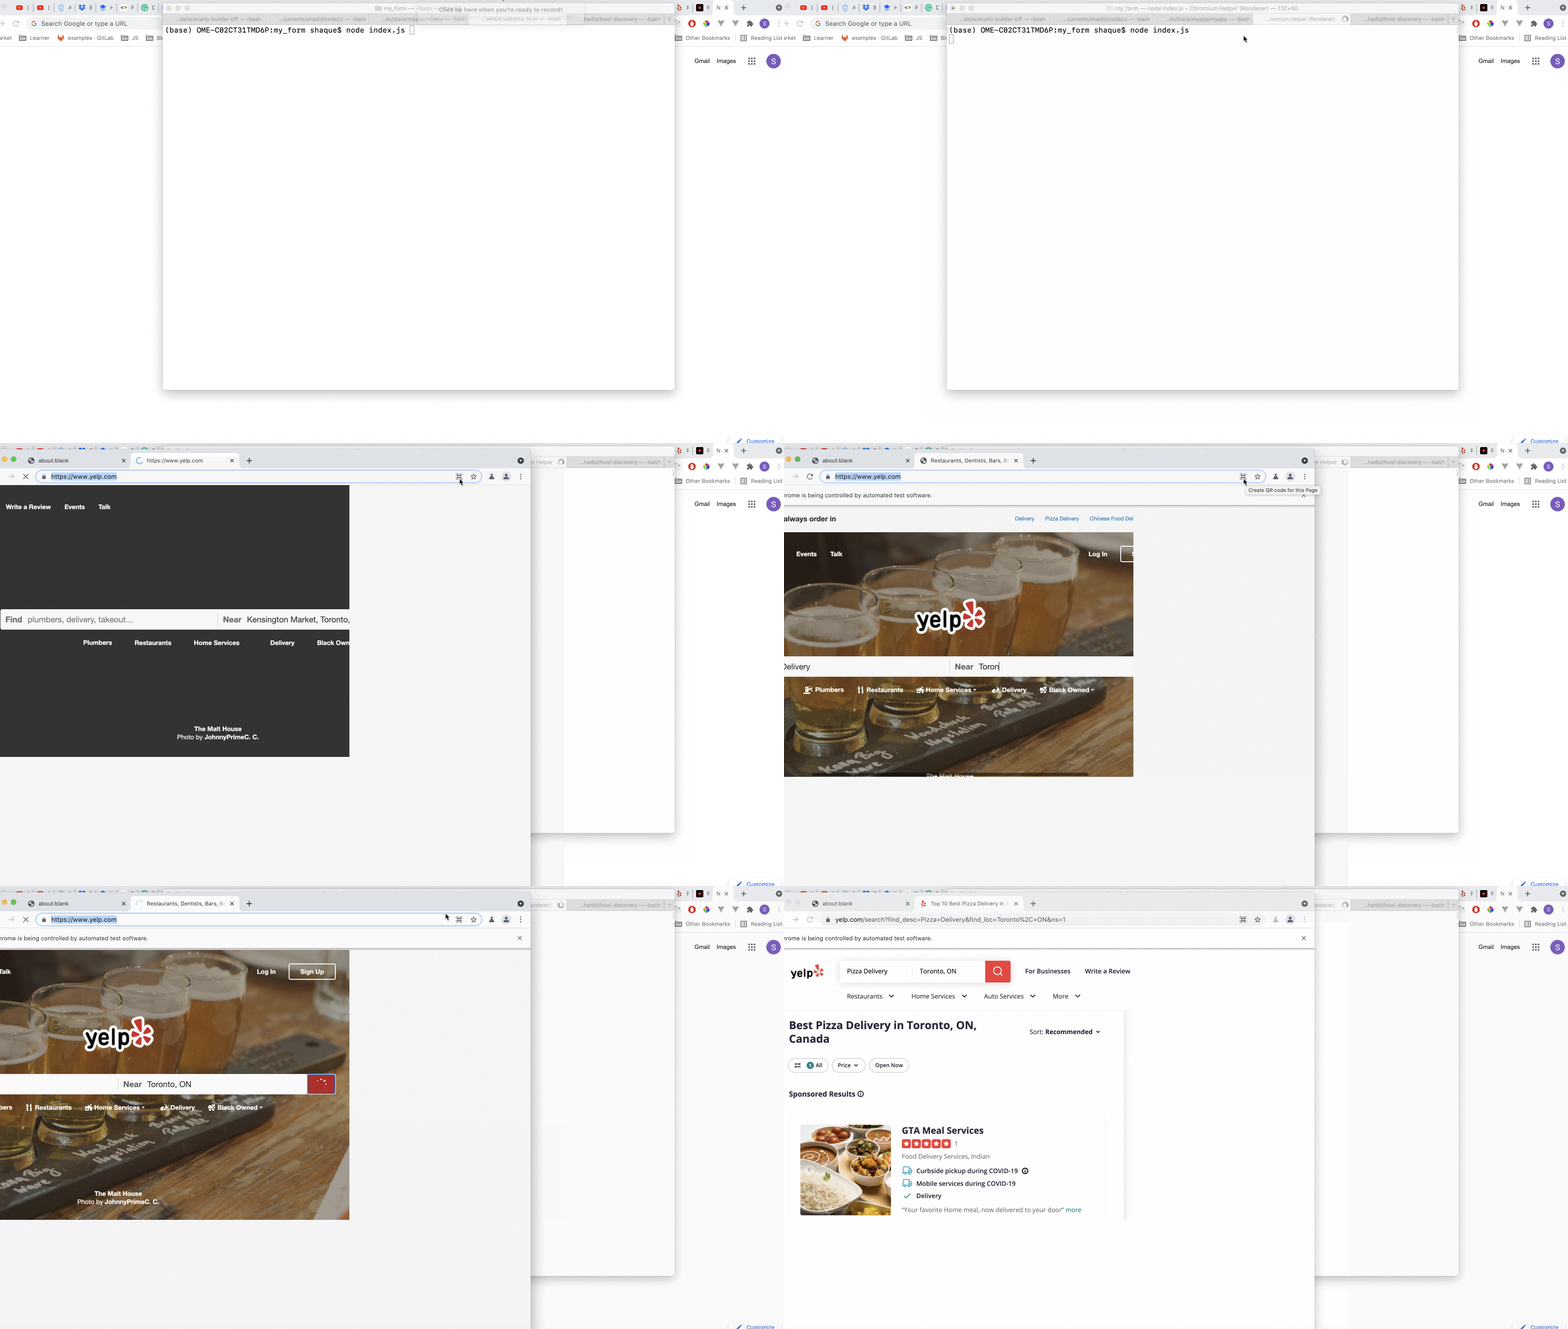
We verified Puppeteer is installed and working as expected. Now we can move forward with our first form submission. The first example is going to be super simple. We will navigate to yelp.com website and search for pizza delivery near Toronto, Canada.
First let’s visit the yelp.com.


If we open our Dev Tools in Chrome and start inspecting the webpage we can see that the find input has an id called find_desc. We can also see that the near input has an ID of dropperText_Mast and the search button has an id of header-search-submit. We can use this information to write our automation script.
    const puppeteer = require('puppeteer');
    async function main() {
        const browser = await puppeteer.launch({
            headless: false
        });
        const page = await browser.newPage();
        await page.goto('https://www.yelp.com/');
        await page.type('#find_desc', 'Pizza Delivery');
        await page.type('#dropperText_Mast', 'Toronto, ON');
        await page.click('#header-search-submit');
        await page.waitForTimeout(5000); // wait for 5 seconds
        await browser.close();
    }
    main();
In the script above we are opening up a new browser instance. We are grabbing the inputs by id on lines 8 and 9. In Puppeteer we are able to target DOM elements by their id. We are using the type function from Puppeteer to populate the inputs. The first parameter of the type function is the targeted DOM element and the second argument is the string that we want Puppeteer to type for us. Note that we can also pass class name as a first argument. For instance if find_desc was a class instead of an Id name, we could have done this
await page.type('.find_desc', 'Pizza Delivery');
On line 10 we are using the click function to emulate button click. The click function accepts a string identifier that corresponds to a DOM node.
Let’s run this script and see it in action here:

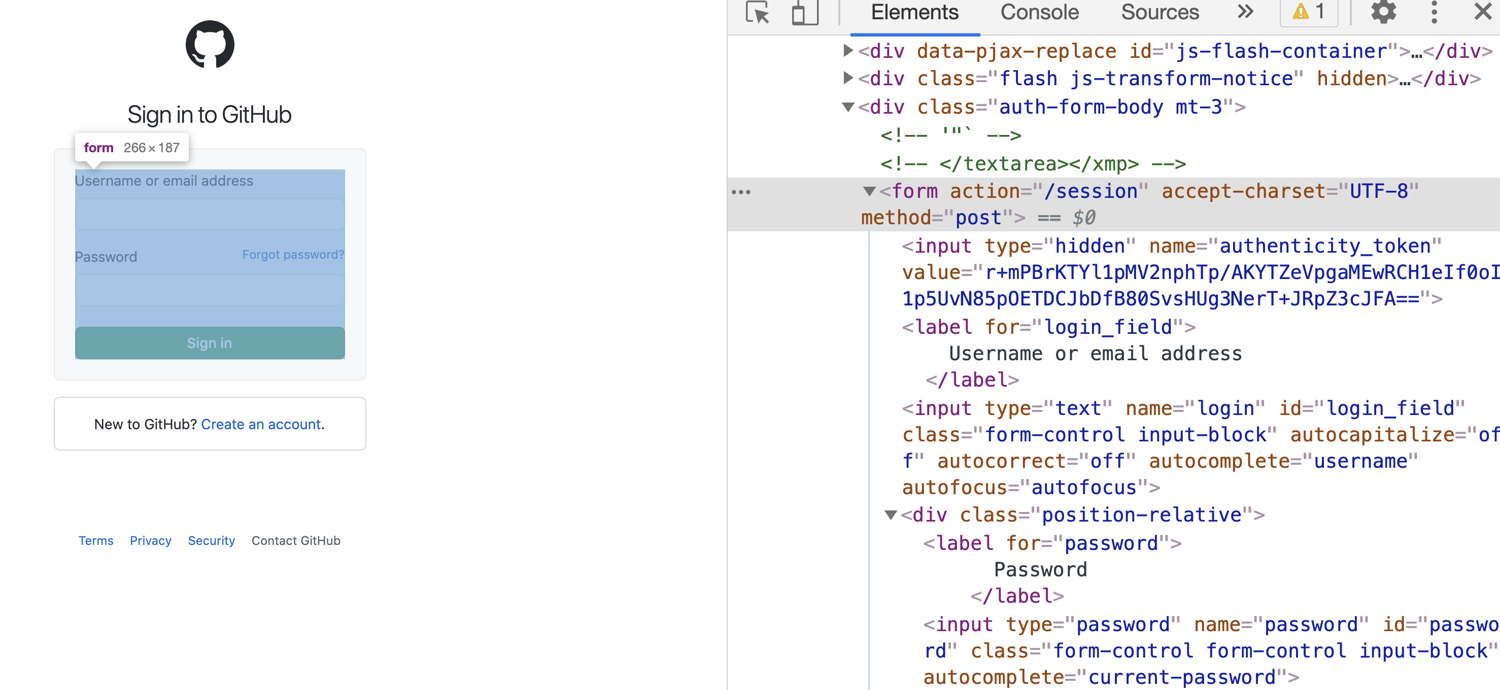
Let’s take a look at another example where we are going to target the input by name. For this next example, I am going to be using Github's login page.

If we open Google Dev Tools and inspect the form here we will see that this form inputs have name property as well as id. Take a look at the code snippet below.
    async function withInputName() {
        const browser = await puppeteer.launch({
            headless: false
        });
        const page = await browser.newPage();
        await page.goto('https://github.com/login');

        await page.type('input[id=login_field]', 'John');
        await page.type('input[name=password]', 'Password');
        await page.evaluate(() => {
            document.querySelector('input[type=submit]').click();
        });
    }
    withInputName();
As you can see we are using a different type of syntax here. On line 8 we are targeting input by id then on line 9 targeting the input element by name property. We can also target input by type as you can see on line 11. Feel free to the syntax you feel comfortable with, there’s no functional difference between them.
Submitting a form with attachments
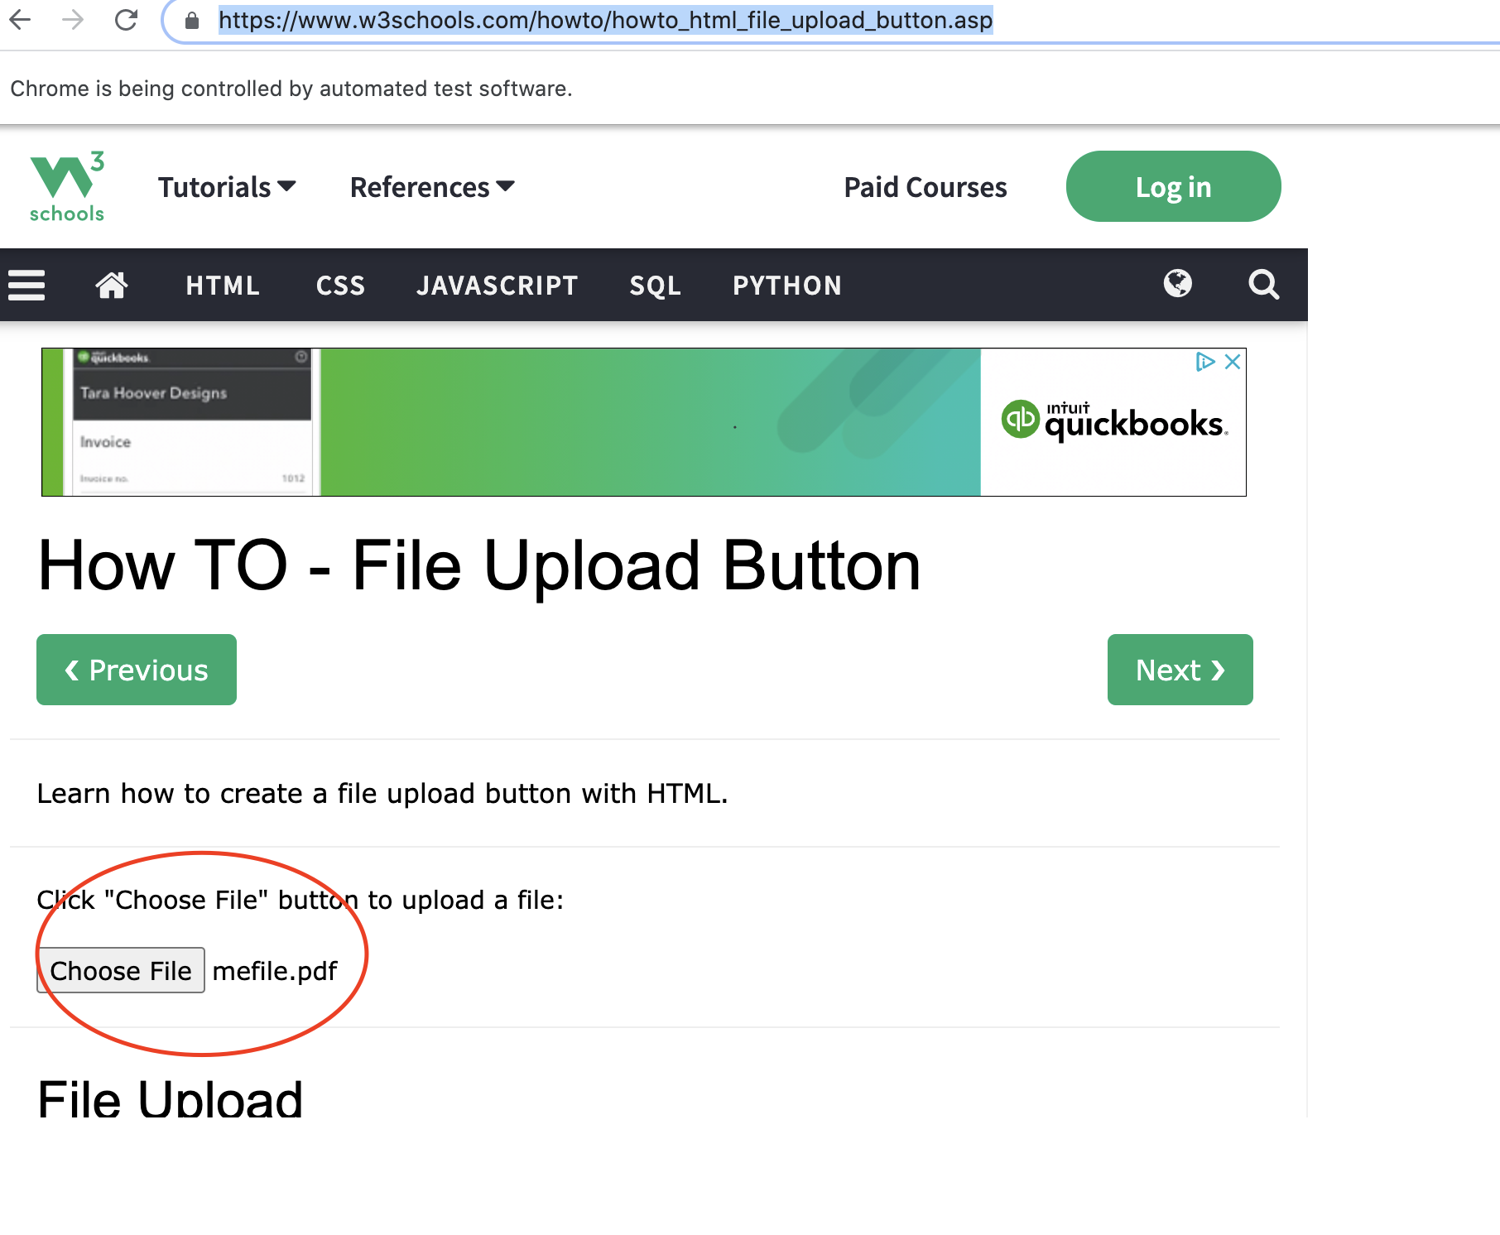
Next, we are going to take a look at how we can upload a file Puppeteer. We are going to use this demo form from W3 school to demonstrate this. Let’s dive into the code.
    async function uploadFile() {
        const browser = await puppeteer.launch({
            headless: false
        });
        const page = await browser.newPage();
        await page.goto('https://www.w3schools.com/howto/howto_html_file_upload_button.asp');
        const element = await page.$("input[type=file]");
        await element.uploadFile('./myfile.pdf');
    }
    uploadFile();
Notice that we are selecting the input element with page.$ function provided by Puppeteer. This returns the native DOM element. This element is able to access all the native browser APIs. In the next line we are using the uploadFile function to attach a file from local file system.
When you run the script you will see that the file from local path is getting attached to the form as shown below.

Where to go from here
Puppeteer is a powerful tool. Its application extends to automating form submission. If you are looking to use Puppeteer for your web scraping solution, I highly encourage you to read through their official docs. I hope this article was informative and gave you a broad understanding of how to automate form submissions.
Further reading:
- how to submit forms with Puppeteer. This is a very common use case, and it can sometimes be mandatory to submit a form before downloading a file.
- Intercepting requests with Puppeteer
- Infinite scroll with Puppeteer
That's it for today, until next time.
Before you go, check out these related reads:

I am a software craftsman and a coffee aficionado. Currently living in Toronto, Canada. I love everything JavaScript, Node.js, and in between. Always keen to solve interesting problems and transform complications into simplicity.

